


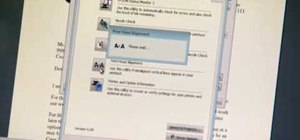
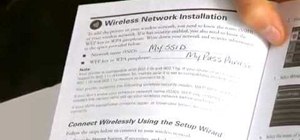
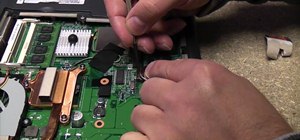
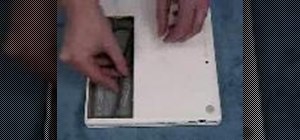
In order to install a new hard drive in your MacBook Pro, you will need to save everything on Time Machine. You will need to be in a static free environment, a hard drive, and small screwdriver. After you have backup everything on Time Machine, turn your laptop over and unscrew all of the screws from the back with a mini Phillips head screwdriver. Remove the back cover. Remove the 2 screws near the hard drive. Remove the tiny black piece that you've freed. Remove the hard drive, and disconnect the back cable. Connect the new hard drive. Reassemble the laptop, remembering to screw in the screws. Next, you'll need to restore the operating system. Select English for Main Language. Go to Utilities. Then, go to Disk Utility. Select the new hard drive. Erase and format. You'll need to name it. Install Mac OS 10. Continue and accept. Then, click install. You could just do this through Time Machine, if you select Restore through Backup. The Wizard will lead you through the steps.
Just updated your iPhone? You'll find new emoji, enhanced security, podcast transcripts, Apple Cash virtual numbers, and other useful features. There are even new additions hidden within Safari. Find out what's new and changed on your iPhone with the iOS 17.4 update.


Be the First to Comment
Share Your Thoughts