

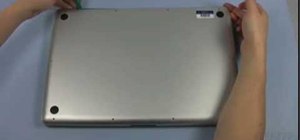
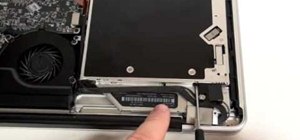
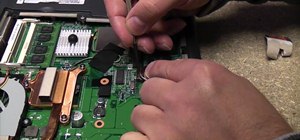
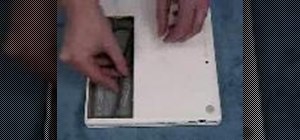
In this how-to video, you will learn how to install a hard drive into a 17" Macbook Pro. Make sure you use the proper anti-static precautions before going on with this procedure. You will need a pry tool, a Phillips screwdriver, and a T6 screwdriver. Make sure you transfer your old data into the new drive before installing. Shut down the computer and flip the laptop over. Unscrew the ten screws around the bottom. Now, remove the cover. You will see the hard drive at the lower right. Loosen the screws holding the retainers and remove the entire bar. Remove the hard drive using the plastic tab and disconnect the connector. Remove the screw in mounts with the T6 screwdriver. Remove the tab. Now, re-attach the mounts to the new drive. Replace the plastic tab onto the new drive and connect it to the laptop. Insert the drive into the compartment and screw in the retainer. Now, replace the cover and screws. Viewing this video will show you how to properly and safely install a new drive into your laptop.
Just updated your iPhone? You'll find new emoji, enhanced security, podcast transcripts, Apple Cash virtual numbers, and other useful features. There are even new additions hidden within Safari. Find out what's new and changed on your iPhone with the iOS 17.4 update.


Be the First to Comment
Share Your Thoughts