

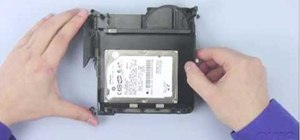
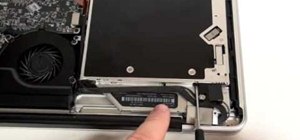
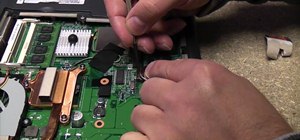
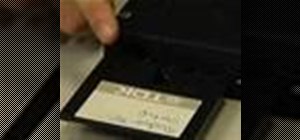
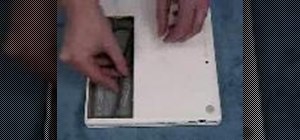
Other World Computing provides a guide for advanced users demonstrating the upgrade or replacement of a hard drive in a Mac Mini Server computer. This comprehensive video takes you through all steps from tool selection to re-assembling the Mac Mini Server and it is recommended that the video is watched right through before attempting the procedure. In particular, it demonstrates the difficulty of opening up a Mac Mini using a small putty knife. Once the case is off, the three wireless antennae are removed and then SATA cable disconnected. Next four screws need to be removed to allow the Hard Drive assembly to be detached from the main unit. Next the two drive trays are separated from the assembly and the SATA connector. Once the drives are separated from their drive trays the procedure is reversed and you will be given similar levels of detail to demonstrate the re-assembly process. Once complete, the Mac Mini Server is ready to be powered up with its new drives in place.
Just updated your iPhone? You'll find new emoji, enhanced security, podcast transcripts, Apple Cash virtual numbers, and other useful features. There are even new additions hidden within Safari. Find out what's new and changed on your iPhone with the iOS 17.4 update.


Be the First to Comment
Share Your Thoughts