


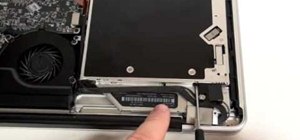
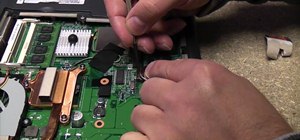
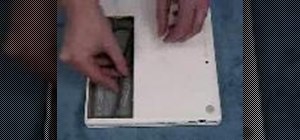
Interested in upgrading your RAM? This brief how-to will guide you through the process of removing the RAM module from a mid-2010 unibody Mac Mini without damaging any of the components, the first necessary step of any successful repair or upgrade. This tutorial will also be of use to those who wish to learn more about the guts of their Apple computers without actually disassembling their units.
Just updated your iPhone? You'll find new emoji, enhanced security, podcast transcripts, Apple Cash virtual numbers, and other useful features. There are even new additions hidden within Safari. Find out what's new and changed on your iPhone with the iOS 17.4 update.


3 Comments
I had the same problem with the So-DIMM becoming stuck during installation. I couldn't get the darn SO-DIMM's to sit correctly. I used the soft pointed end of a standard Bic ballpoint pen cap to gently (very gently) fish out by the half-cresent cuts along the sides of the SO-DIMM.
Be careful of the ram clips on each side! If the SO-DIMM is stuck, do not force the ram clip(s) apart more than they are willing to give or they might snap off.
You will need to apply greater force than you anticipate for the SO-DIMM's to sit/pop in correctly. The top/outermost SO-DIMM was the most difficult to set in my personal experience.
Share Your Thoughts