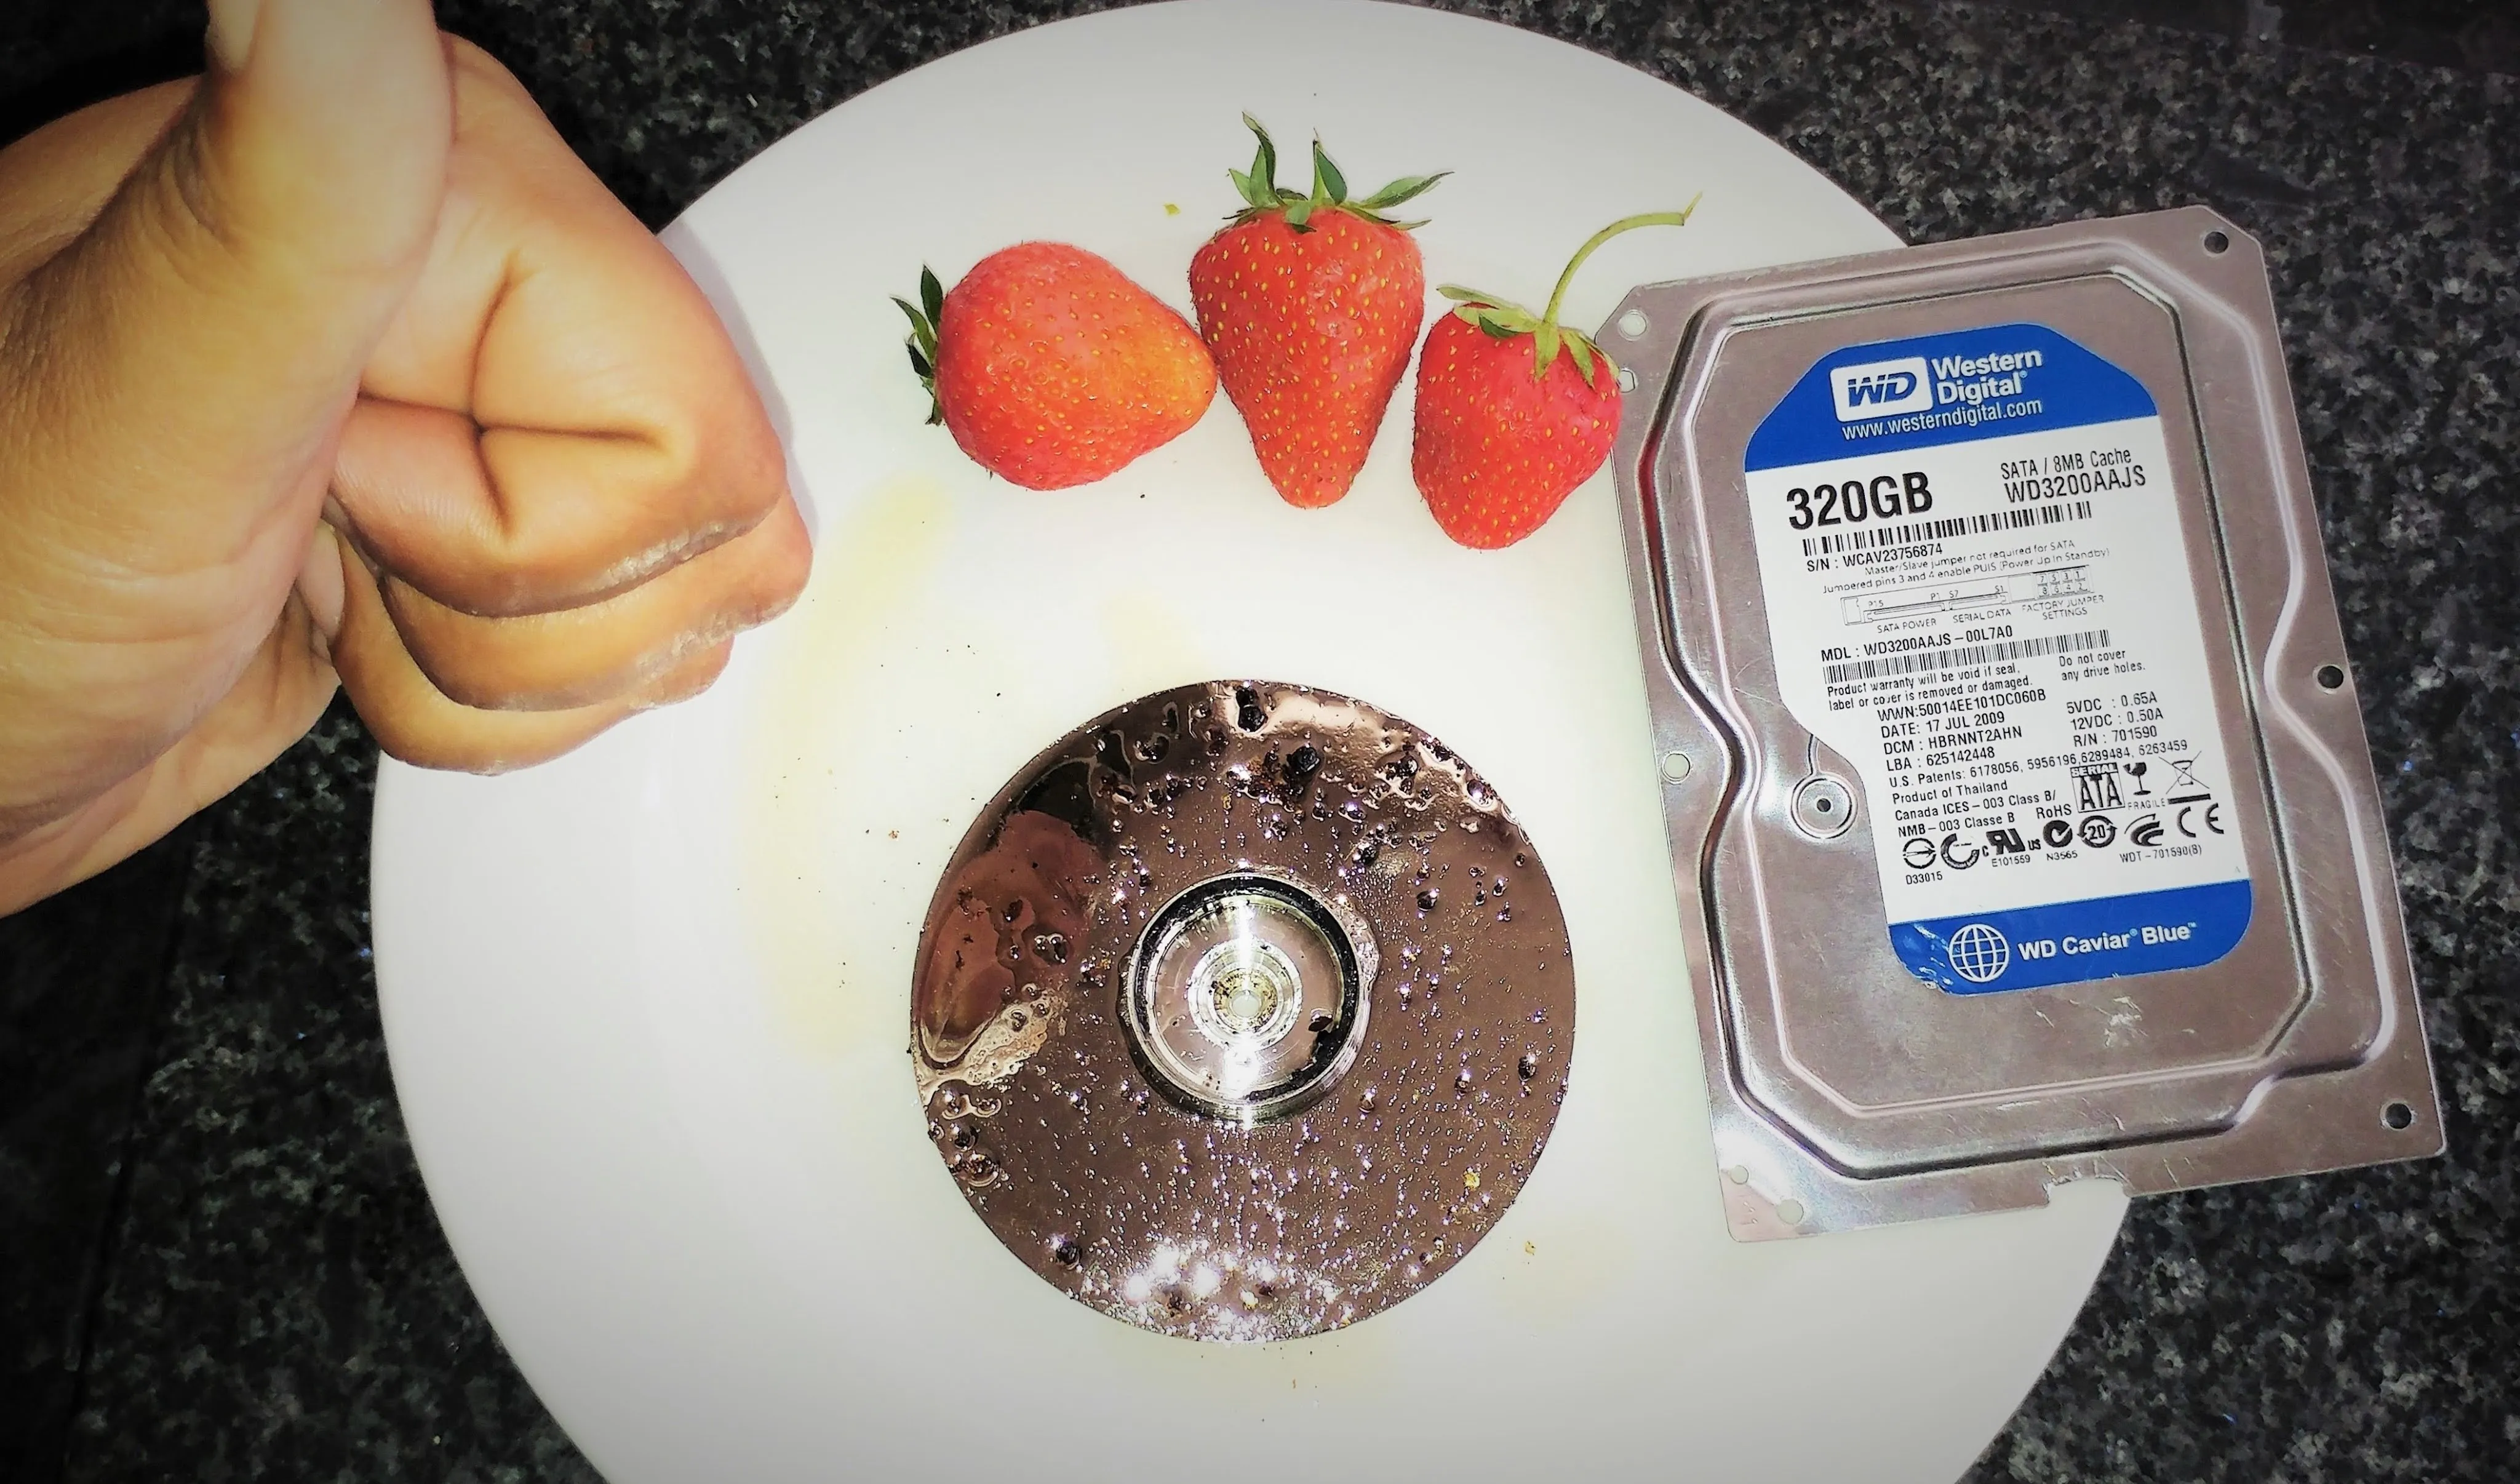
Not enough space on your laptop? No problem! Grab a new hard drive from your local office supply store and follow this tutorial to learn how to install it.
You Will Need
• New hard drive
• External hard drive enclosure
• USB cable
• Hard-drive cloning program
• Small Phillips-head screwdriver
Step 1: Clone your hard drive
Place the new hard drive in the external hard drive enclosure; then connect the enclosure to your laptop with a USB cable. Open up your cloning program and follow the on-screen instructions to make a bootable copy of your computer's hard drive.
The cloning process can take several hours, but be patient: Altering files during cloning could result in lost data.
Step 2: Prepare to remove the hard drive
Once the cloning is complete, unplug the hard drive enclosure from the laptop. Then, turn the laptop off, unplug it, remove the battery, and touch something metal to discharge any static electricity.
Step 3: Take the carriage out
Check around the edge or on the bottom of the laptop for the access panel that covers the hard drive carriage. Remove the screw or screws that hold the panel in place and take the panel off. Then, gently pull the carriage out.
Step 4: Take the drive out
Take any shock absorbers off the carriage, and remove the four screws fastening the carriage to the hard drive.
Step 5: Put the drive in the carriage
Remove the new hard drive from the enclosure and place it in the carriage, checking that the connections line up correctly. Replace the screws that fasten the carriage to the drive and put the rubber shock absorbers back on if necessary.
Step 6: Replace the carriage
Slide the carriage back into place in the laptop, and screw the access panel back on.
Step 7: Turn it on
Put the battery back in, plug it in, and turn it on. Just like new, only better!









Comments
Be the first, drop a comment!