Hot Computer Hardware Posts


How To: Install an Apple AirPort wireless router
Want to connect your Mac to an AirPort or AirPort Extreme wireless router? This video guide will show you how. For step-by-step instructions on setting up your own WiFi, take a look at this Apple AirPort installation guide. Install an Apple AirPort wireless router.

How To: Install RAM, or random access memory, in an Apple iMac
Using a Phillips head screwdriver remove the screw under the handle in the back of your iMac. Remove the screws outlined in the picture below. Remove screws 1 and 2 with a standard Phillips head screwdriver. Screws 3 and 4 use a standard flat head screwdriver. After removing the screws, gently pull out all of the plugs. Next holding the clear handle just below the bar code, pull out the section of the iMac.

How To: Clean an Apple Mighty Mouse
If your Apple Mighty Mouse is covered in fingerprints or its surface has become soiled, it can be gently wiped with a clean lint-free cloth. If necessary, moisten the cloth using only water, making sure not to oversaturate it. Be aware that the mouse contains electronic components that may be damaged if water drips from the cloth into the mouse via the seam around the scroll ball or around its underside.
How To: Turn an Iomega ZIP Drive into a USB drive enclosure
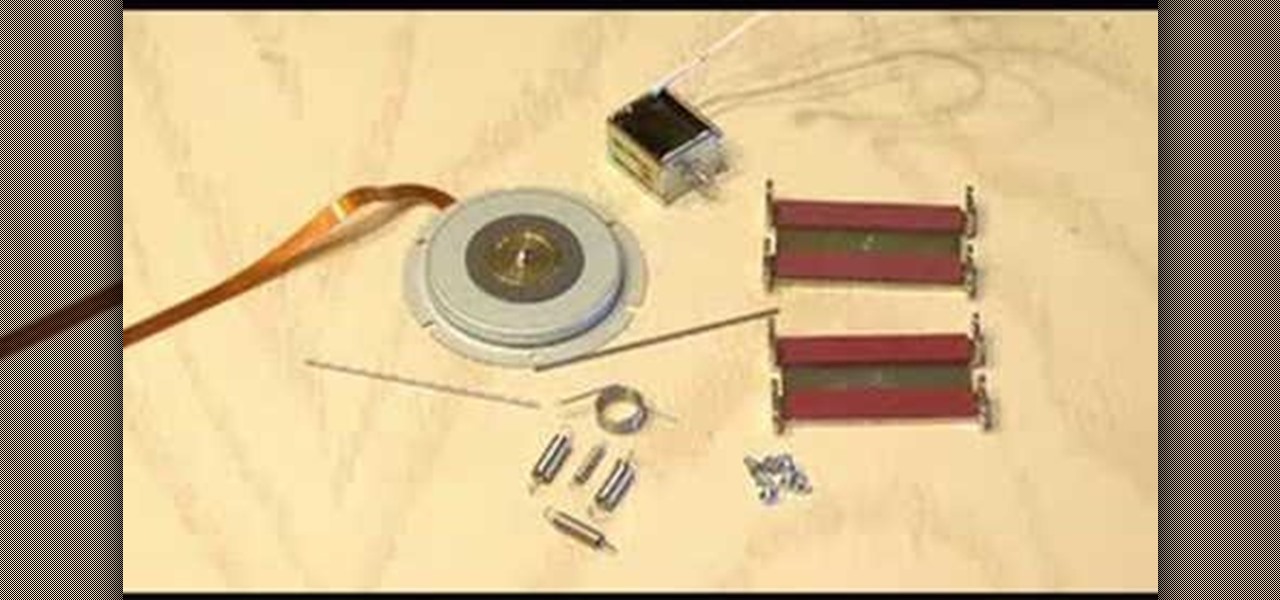
The good old Zip Drive introduced by Iomega in late 1994 served its purpose as a medium-capacity removable disk storage system until obsolescence kicked in as it was replaced by flash drives as well as rewritable CDs and DVDs. This video presents a number of fun, DIY art projects that you can do with your old Iomega Zip Drive. Specifically, this how-to looks at how you can take your old Zip Drive and make of it a USB driver enclosure. For more, or to get started on your own Zip Drive project,...
How To: Install a 233 PowerForce G4 accelerator in a Mac Tower
The PowerForce G4 Series 233 is the versatile single processor upgrade for PowerMac G4 AGP towers, G4 Cubes, PowerMac G4 Digital Audio, QuickSilver, and QuickSilver 2002 models. It features the G4-7451 and G4-7455 processors, with speeds up to 1.2GHz. The PowerForce G4 Series 233 processor card, like its predecessors - the Series 100 and 133 upgrades - is the most advanced, highest performance CPU card available on the market today. It's also easy to install Feature List: PowerPC 7451 or 7455...
How To: Install an OWC Mercury Extreme processor on a G4 Mac
The OWC Mercury Extreme G4 is a fantastic high speed single processor replacement to your current processor. The Mercury Extreme, unlike other processor upgrades, does not use or require 'enabling' utilities to operate. It's the easiest upgrade for your G4 Quicksilver Macintosh to boost its speed. This video tutorial will take you, step by step, through the installation process. For more, take a look!

How To: Install a PowerForce G3 ZIP on an IBM 750fx or gx CPU
The PowerForce G3 ZIF (Zero Insertion Force) is the super-fast, yet economical CPU upgrade for your "Beige" Power Mac G3 desktop or minitower, "G3 All-in-One" educational model, Blue and White Power Macintosh G3's and the Power Macintosh G4 "Yikes." This video tutorial will walk you through the PowerForce G3 installation process. For step-by-step instructions, take a look!

How To: Install an optical drive in a Power Mac G4 system
Installing a second optical drive on your Power Mac is a simple project, provided you know what you're doing. In this video tutorial, you'll find detailed, step-by-step instructions on how to install an optical drive in a Power Mac G4 mirrored drive door system. For more, watch this optical drive installation how-to.
How To: Install a serial ATA hard drive in a G5 Power Mac
If your Power Mac is running out of disk space, you might consider installing a second hard drive. In this video tutorial, you'll find instructions for installing a second serial ATA drive into a Power Mac G5 system. For more on the hard drive installation process, watch this how-to and, remember: take proper anti-static precautions when working on any computer.
How To: Install a G4 AGP processor upgrade card
This video is going to show you how to install a processor upgrade card into a Power Mac G4 AGP machine that is either a "sawtooth" or "Gigabit Ethernet" machine.

How To: Install RAM into a mid 2007 model iMac
This video shows you how to install memory into a new mid 2007 Apple Intel iMac. It is the same procedure for the 20" or 24" versions.

How To: Install memory and a hard drive in the MacBook
This video takes you through the steps required to open a MacBook 13.3" (Intel) and install memory and a hard drive.

How To: Upgrade your Mac Mini G4
In this video you will learn how to disassemble and completely upgrade a Mac Mini (G4) by installing memory, an optical drive and a hard drive. You'd be surprised, the hardest part of this "surgery" is getting the computer open!

How To: Install additional memory into a Power Mac G5
This video shows you how to install additional memory into a Power Mac G5 1.8 single processor system. You do need to install the memory in matched pairs so keep that in mind when you're buying the memory.

How To: Install a second optical drive in a Mac Pro
In this video you will see how to install a second optical drive into an Apple Mac Pro system. It's actually really easy and should take no time at all.

How To: Install a serial hard drive & card in a G4 Quicksilver
If you're considering buying and installing a new serial hard drive and PCI card in your Power Mac G4 Quicksilver, then watch this video and see how it's done. Hopefully you'll still want to do it yourself, but maybe not?

How To: Install a hard drive into a Power Mac G4 Cube
Got a new hard drive for your Power Mac G4 Cube but not sure how to install it? It's really simple if you just follow the demonstration in this video.
How To: Install a parallel ATA & PCI card on a G4 AGP system
If you have a Power Mac G4 AGP system, and it's too slow, you'll want to install a parallel ATA controller card and second hard drive. The controller card is necessary to make the second hard drive actually useful since if you don't install it, both drives are running on the slow factory card. Check out how to do it in this video.

How To: Use the fingerprint scanner on an Lenovo X60 Tablet PC
If I were to tell you you could login to your Lenovo PC using your fingertips, you probably wouldn't be very impressed. The Lenovo X60 Tablet PC, however, is equipped with a biometric fingerprint scanner, which is, in fact, quite impressive, and which you can use to login to your Windows machine in the place of a password. To learn how to use it, watch this handy how-to.
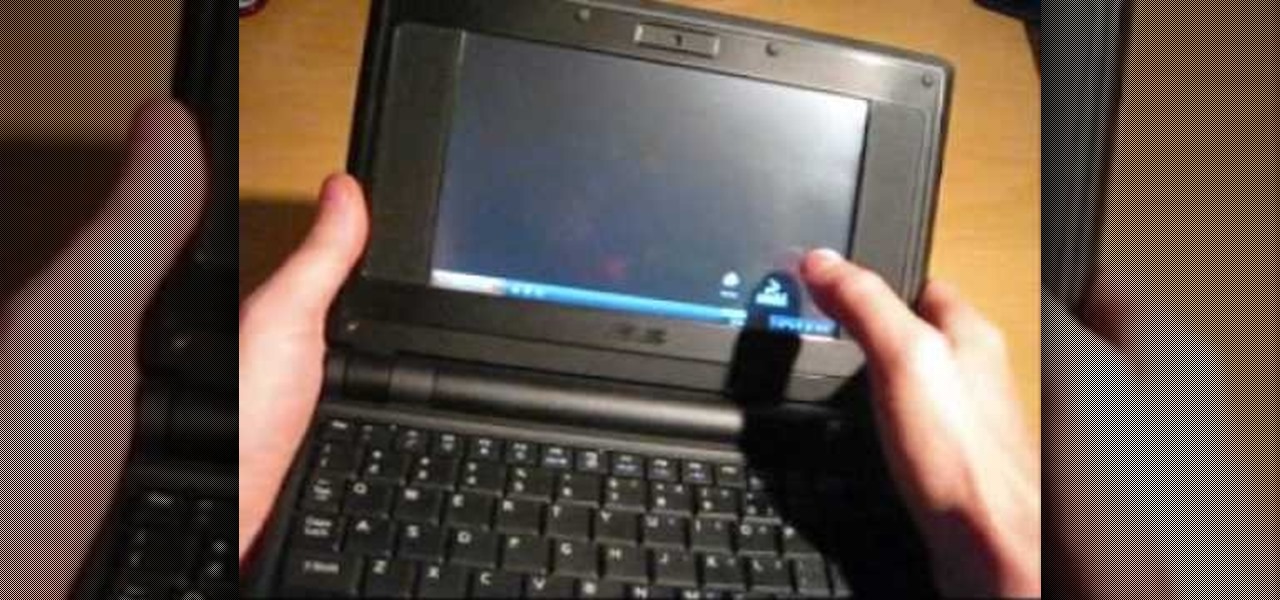
How To: Install an internal 3G HSDPA modem in an ASUS Eee PC
Going mobile? While the ASUS Eee PC is undeniably one of the most portable travel laptops available, it's by no means the the most mobile, because mobility also implies mobile connectivity. In this video tutorial, you'll learn how to install a 3G HSPDA modem in an Asus Eee PC. This mod will work on any Eee PC without the extra PCIE slot. For step-by-step instructions, watch this how-to.
How To: Upgrade the RAM in an ASUS Eee PC
Your ASUS Eee PC is small but is it fast? In this video tutorial, you'll find step-by-step instructions for installing a RAM, or memory, module in an ASUS Eee PC up to 2 GB. (Note well that this upgrade will void your warranty.) To learn what you'll need to upgrade your Eee PC, press play!

How To: Install memory in a MacBook Pro
The more memory your MacBook Pro has, the more it will be able do it once, the faster your MacBook will feel and, presumably, the happier you'll be. This video tutorial will walk you through the mechanical process of removing and upgrading your MacBook Pro's RAM cards. If you're interested in upgrading the RAM in your own MacBook Pro, you would be well served to take a look.
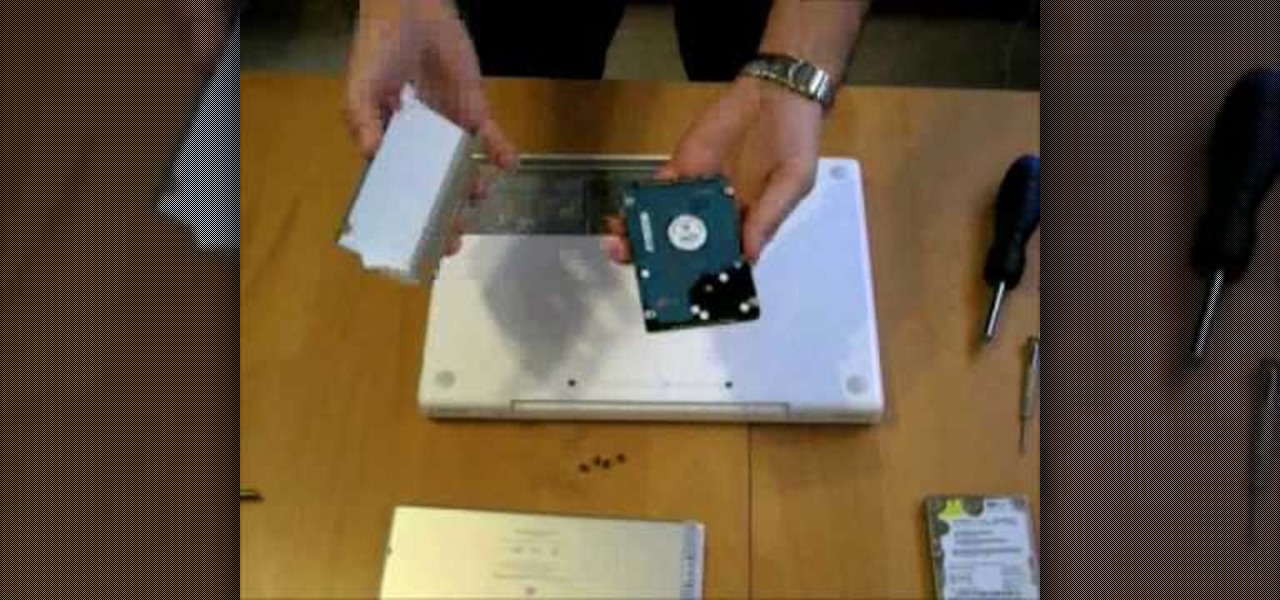
How To: Upgrade a MacBook hard drive
This how-to video will walk you, step by step, through the process of upgrading the hard drive on your MacBook. More specifically, this tutorial addresses saving your old data by creating a copy, or cloning, your MacBook hard drive with SuperDuper, removing it, and installing the new drive. For precise instructions, press play!

How To: Replace the battery in a MacBook Air
Need a little help with your Mac? Has your battery been failing you again and again? Will it not hold a charge? Well, it might be time for you to replace the battery, no?

How To: Add RAM to the MSI Wind Notebook PC
You can never be too rich, too thin, or have to much RAM. With a 1GB SODIMM available for under $20 these days, adding memory to your MSI Wind notebook is a no-brainer upgrade. The MSI Wind comes with either 512MB or 1GB pre-installed, but the machine will recognize up to 2GB and it comes with an empty memory slot which will allow you to add an additional 1GB module for increased performance. What do you need to get started? Assuming you're willing to void the warranty, just buy a 1GB DDR2-53...
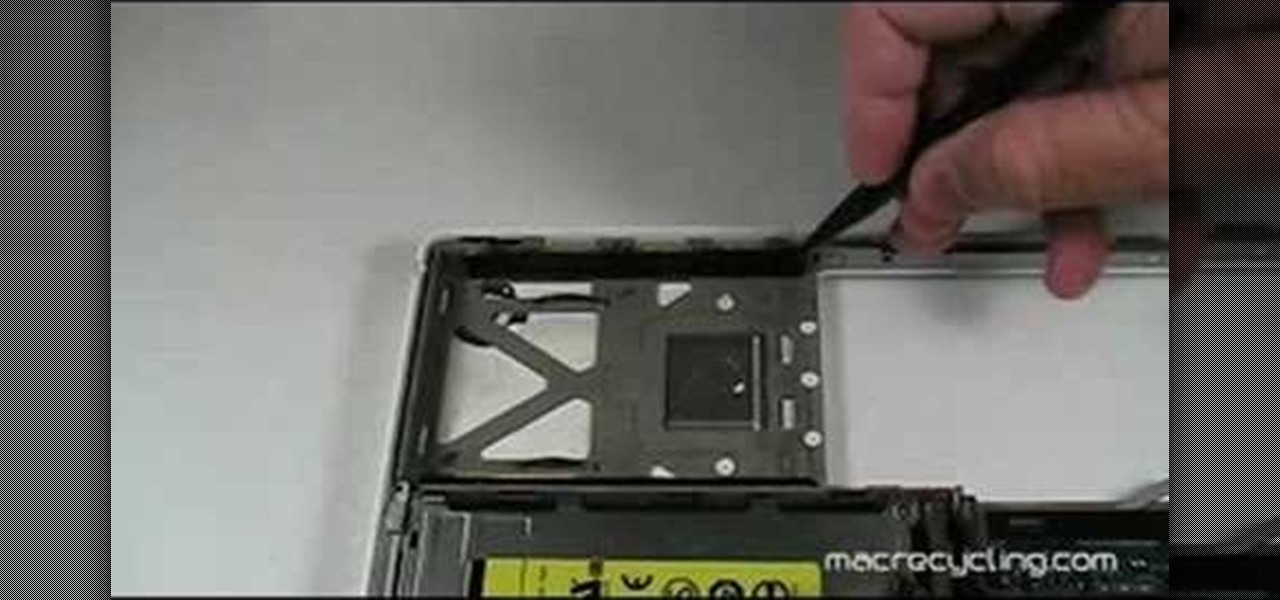
How To: Disassemble a 13" MacBook computer
Accidents will happen. This two-part video tutorial will guide you through the process of taking apart your 13" MacBook quickly and efficiently without damaging any of the components, the first necessary step of any successful repair. This tutorial will also be of use to those who wish to learn more about the guts of their MacBooks without actually disassembling their units. Replace your own display with this video tutorial.
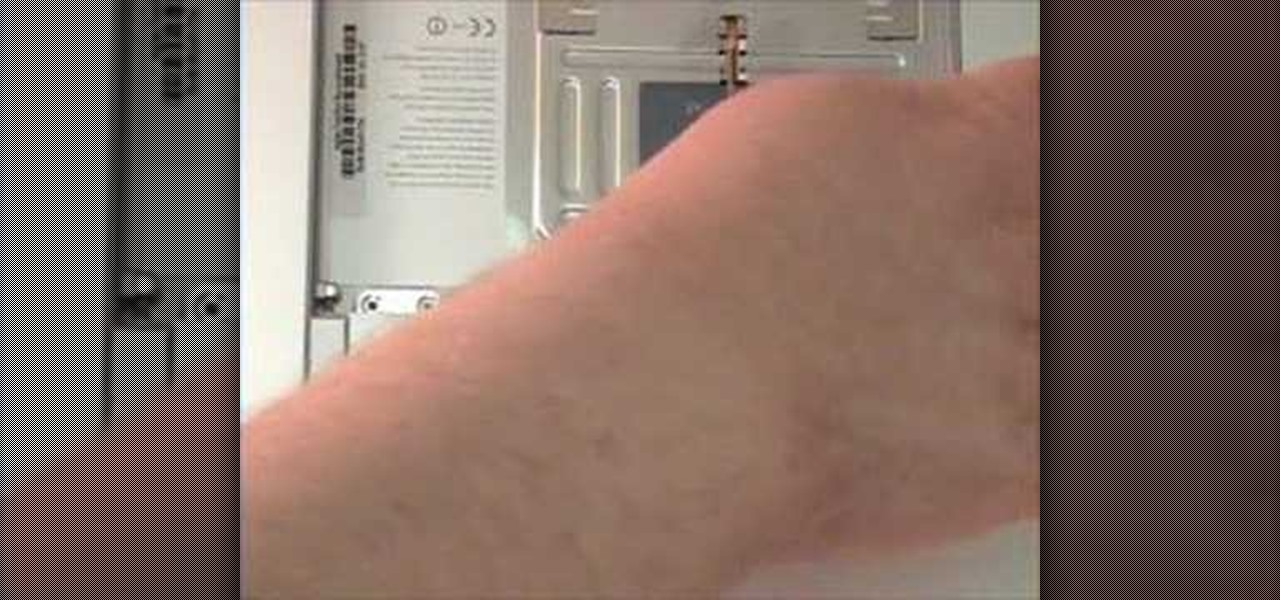
How To: Repair a MacBook Pro 17" - RAM memory removal
PowerBook Medic is the ultimate resource for Mac computers and electronics repair. They have helpful tutorials on most Apple products including the MacBook, MacBook Pro, PowerBook, iBook, iPhone, iPod, and more, covering topics from disassemblies, to RAM upgrades, to replacement hard drives.
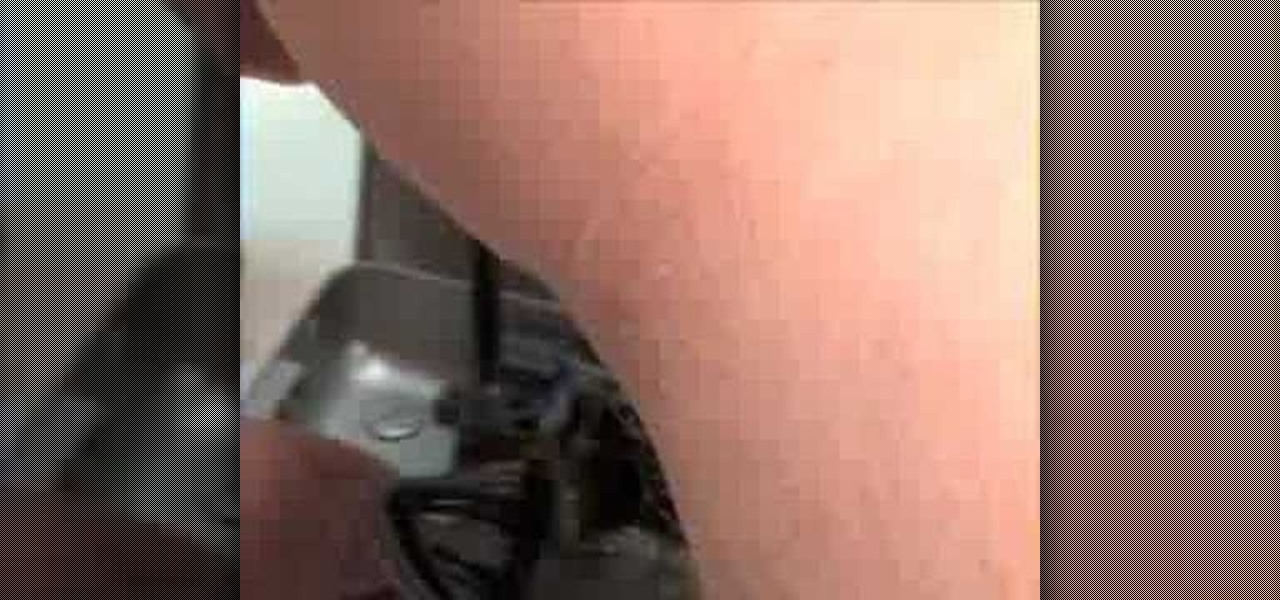
How To: Remove the LCD module from a 15" MacBook Pro
Accidents will happen. This brief how-to will guide you through the process of removing the LCD on your 15" MacBook Pro's LCD from the bottom pan without damaging any of the components, the first necessary step of any successful repair. This tutorial will also be of use to those who wish to learn more about the guts of their MacBooks without actually disassembling their units.

How To: Repair a MacBook Pro 17" - LCD module disassembly
PowerBook Medic is the ultimate resource for Mac computers and electronics repair. They have helpful tutorials on most Apple products including the MacBook, MacBook Pro, PowerBook, iBook, iPhone, iPod, and more, covering topics from disassemblies, to RAM upgrades, to replacement hard drives.
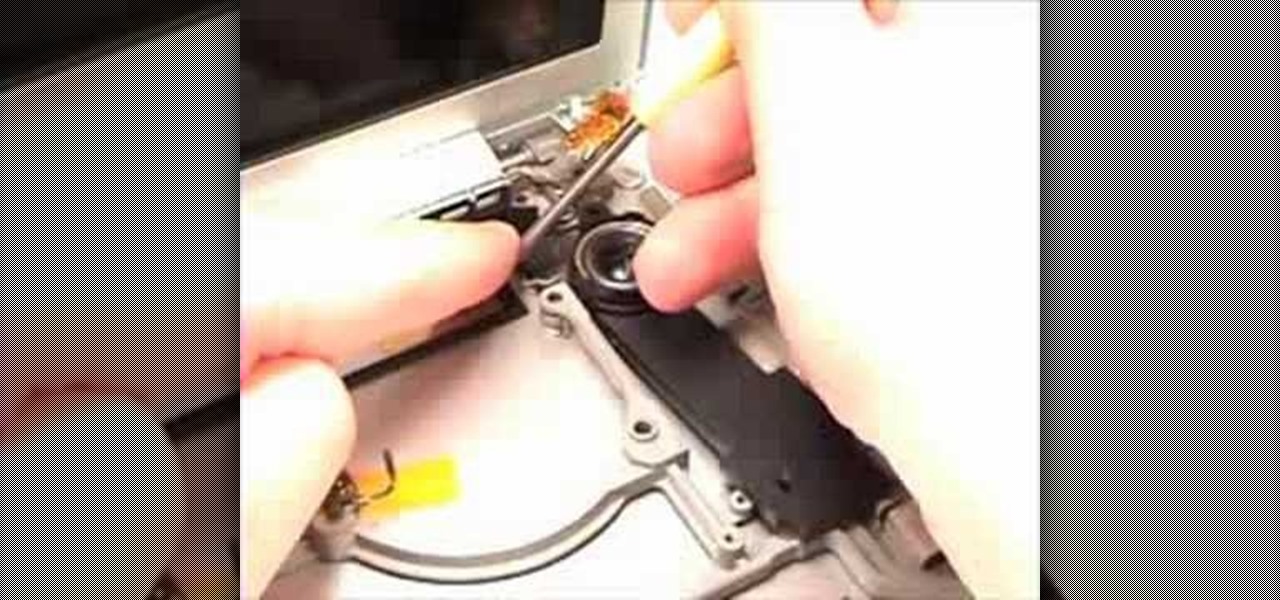
How To: Remove the speaker assembly from a 15" MacBook Pro
Accidents will happen. This brief how-to will guide you through the process of removing the speaker assembly from your 15" MacBook Pro both quickly and efficiently without damaging any of the components, the first necessary step of any successful repair. This tutorial will also be of use to those who wish to learn more about the guts of their MacBook Air laptops without actually disassembling their computers.
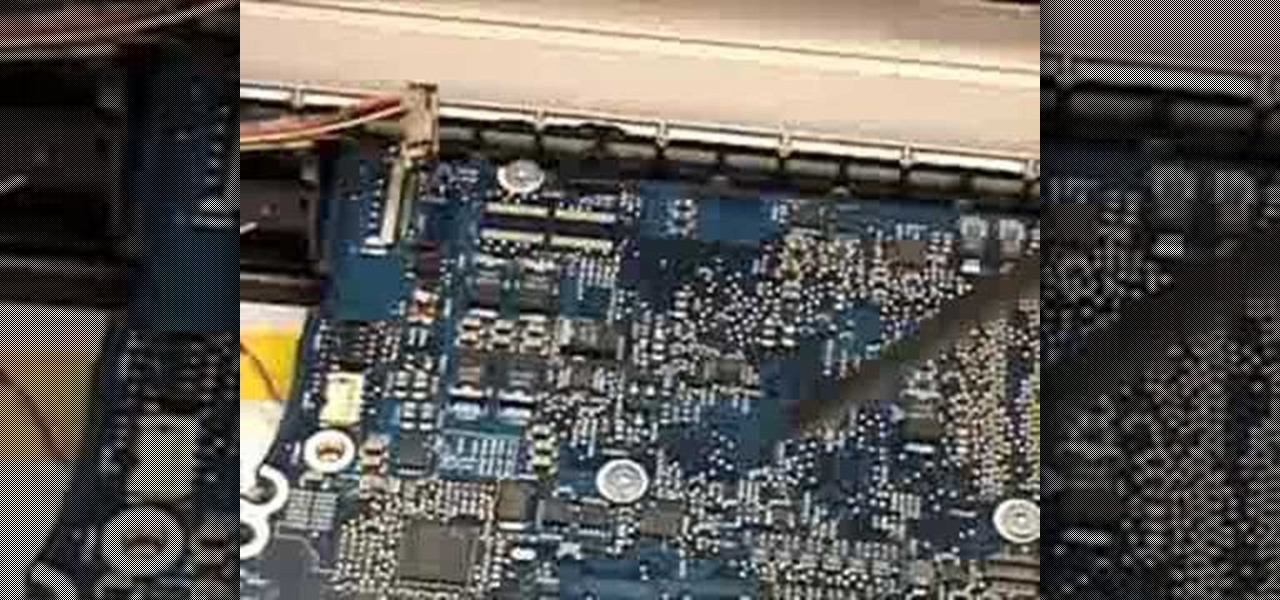
How To: Remove the logic board from a 15" MacBook Pro
Accidents will happen. This brief how-to will guide you through the process of removing the logic board from your 15" MacBook Pro both quickly and efficiently without damaging any of the components, the first necessary step of any successful repair. This tutorial will also be of use to those who wish to learn more about the guts of their MacBooks without actually disassembling their computers.
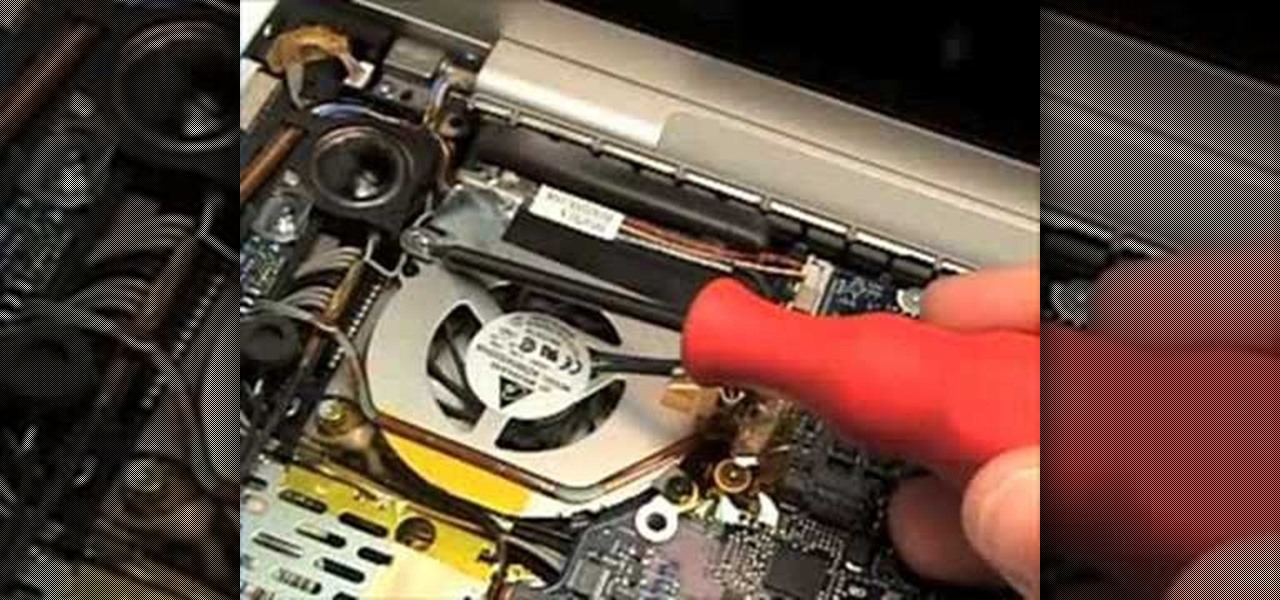
How To: Remove the fan assembly from a 15" MacBook pro
Accidents will happen. This brief how-to will guide you through the process of removing the fan assembly from your 15" MacBook Pro both quickly and efficiently without damaging any of the components, the first necessary step of any successful repair. This tutorial will also be of use to those who wish to learn more about the guts of their MacBooks without actually disassembling their computers.
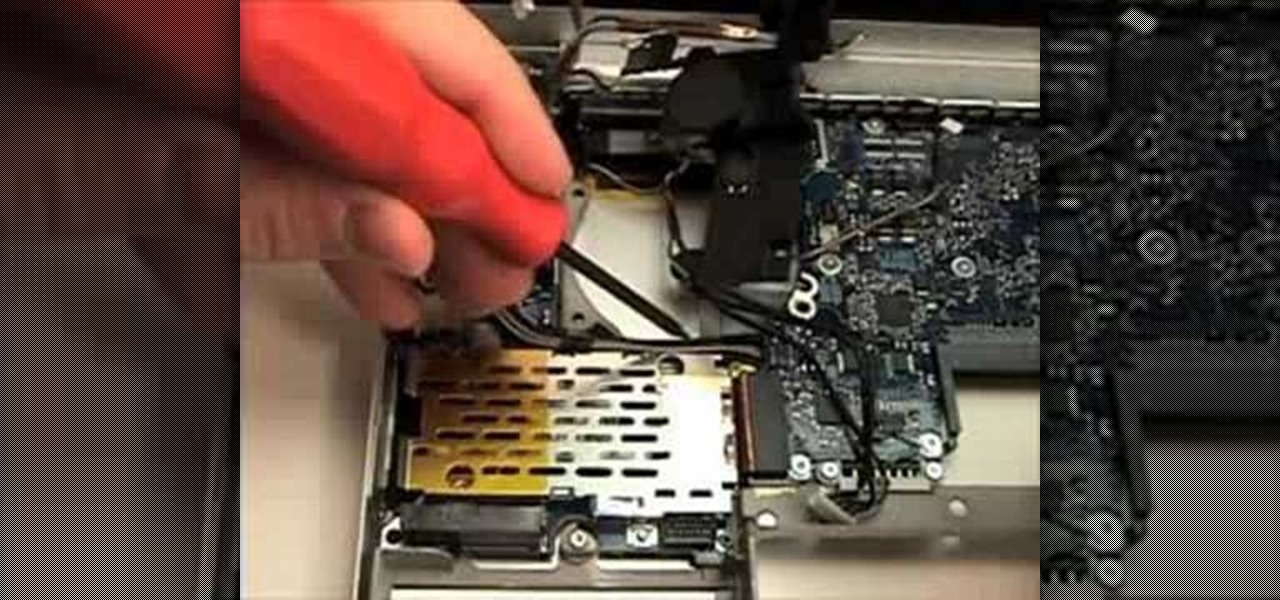
How To: Remove the MagSafe board from a 15" MacBook Pro
Accidents will happen. This brief how-to will guide you through the process of removing the MagSafe board from your 15" MacBook Pro both quickly and efficiently without damaging any of the components, the first necessary step of any successful repair. This tutorial will also be of use to those who wish to learn more about the guts of their MacBooks without actually disassembling their computers.
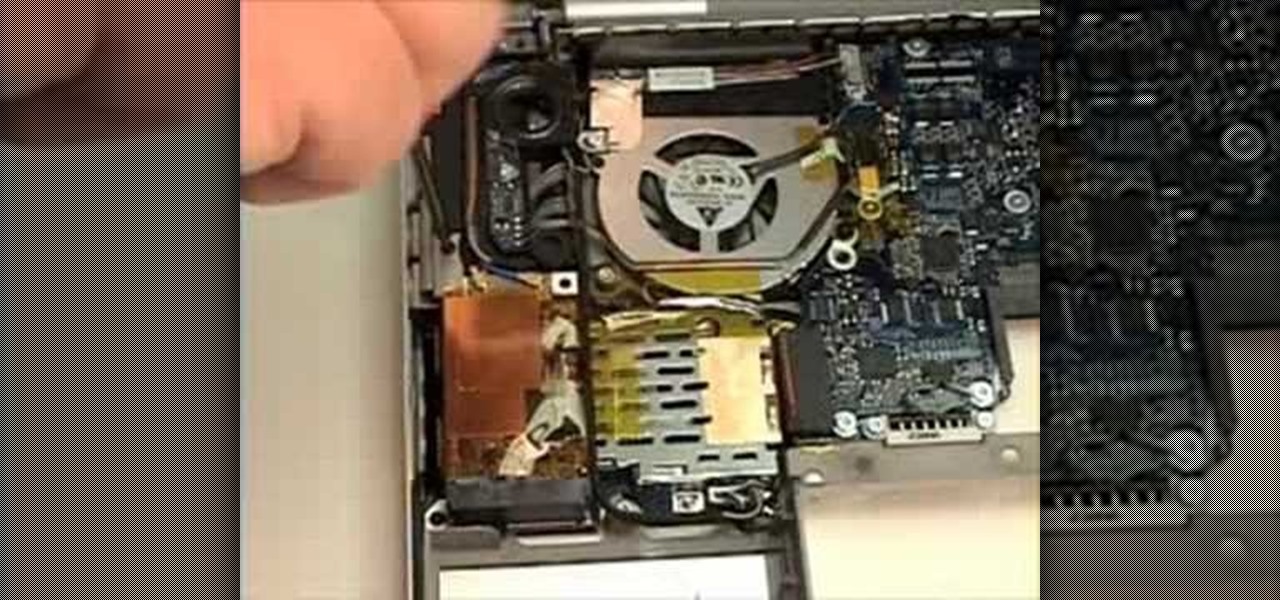
How To: Remove the AirPort module from a 15" MacBook Pro
Accidents will happen. This brief how-to will guide you through the process of removing the AirPort module from your 15" MacBook Pro both quickly and efficiently without damaging any of the components, the first necessary step of any successful repair. This tutorial will also be of use to those who wish to learn more about the guts of their MacBooks without actually disassembling their computers.
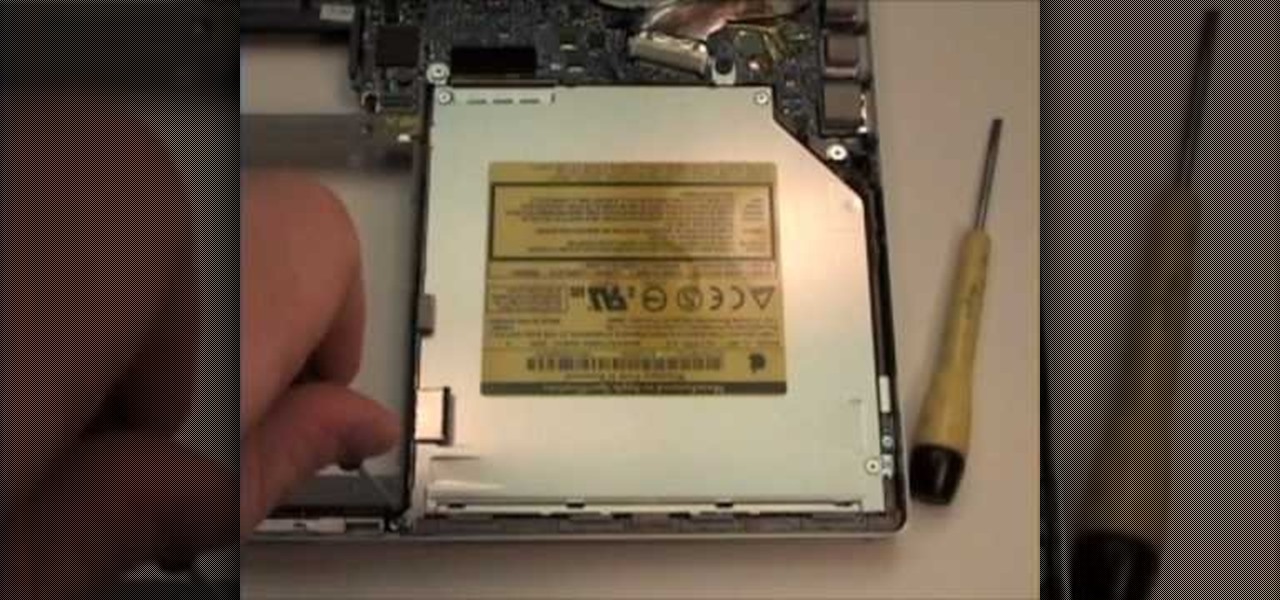
How To: Remove the SuperDrive from a 15" MacBook Pro
Accidents will happen. This brief how-to will guide you through the process of removing your 15" MacBook Pro's CD/DVD SuperDrive both quickly and efficiently without damaging any of the components, the first necessary step of any successful repair. This tutorial will also be of use to those who wish to learn more about the guts of their MacBooks without actually disassembling their units.
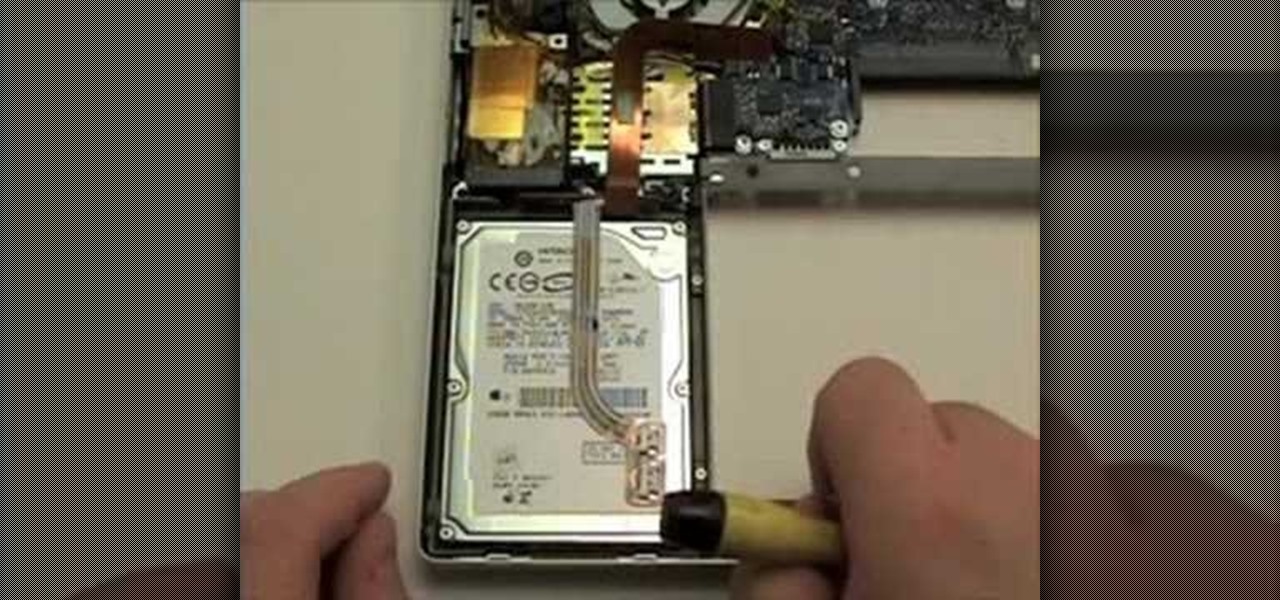
How To: Remove the hard drive from a 15" MacBook Pro
Interested in installing a new hard drive (or, less happily, the victim of drive failure)? This brief how-to will guide you through the process of removing the hard drive from your 15" MacBook Pro without damaging your computer. This tutorial will also be of use to those who wish to learn more about the guts of their MacBooks without actually disassembling their units. Take a look.
How To: Remove the top case from a 15" MacBook Pro
Accidents will happen. This brief how-to will guide you through the process of removing your 15" MacBook Pro's top case (which contains both the keyboard and trackpad) quickly and efficiently without damaging any of the components, the first necessary step of any successful repair. This tutorial will also be of use to those who wish to learn more about the guts of their MacBooks without actually disassembling their computers.
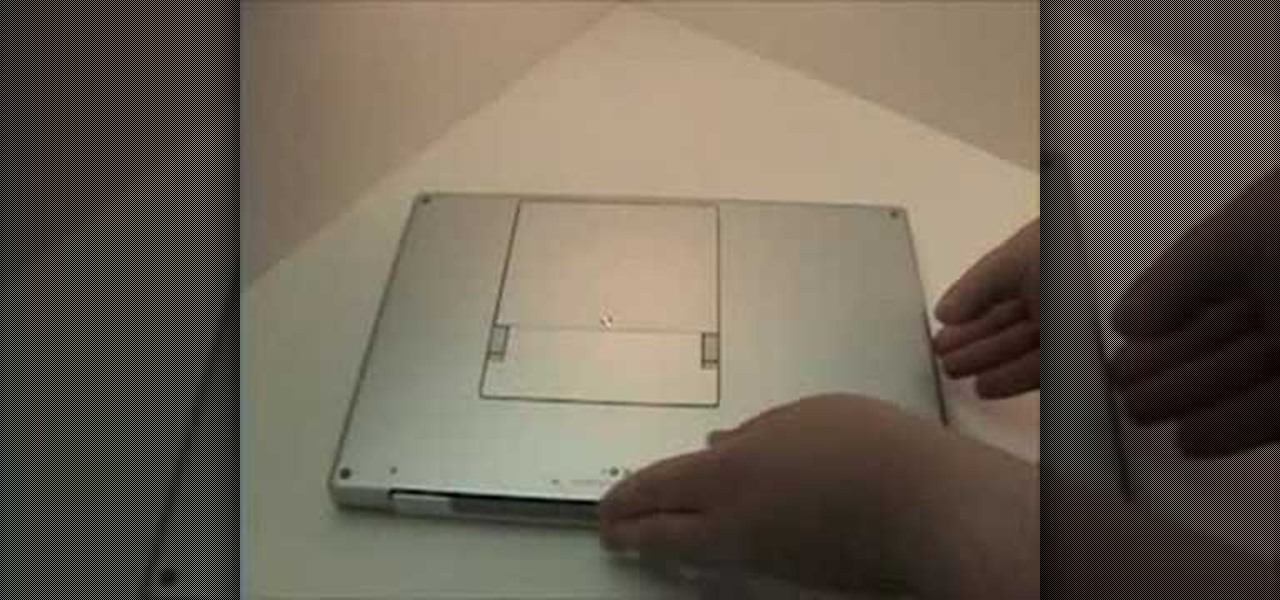
How To: Remove the battery from a 15" MacBook Pro
Accidents will happen and, furthermore, batteries don't last forever. This brief how-to will guide you through the process of removing the battery from your 15" MacBook Pro both quickly and efficiently without damaging any of the components, the first necessary step of most hardware repairs. Take a look.
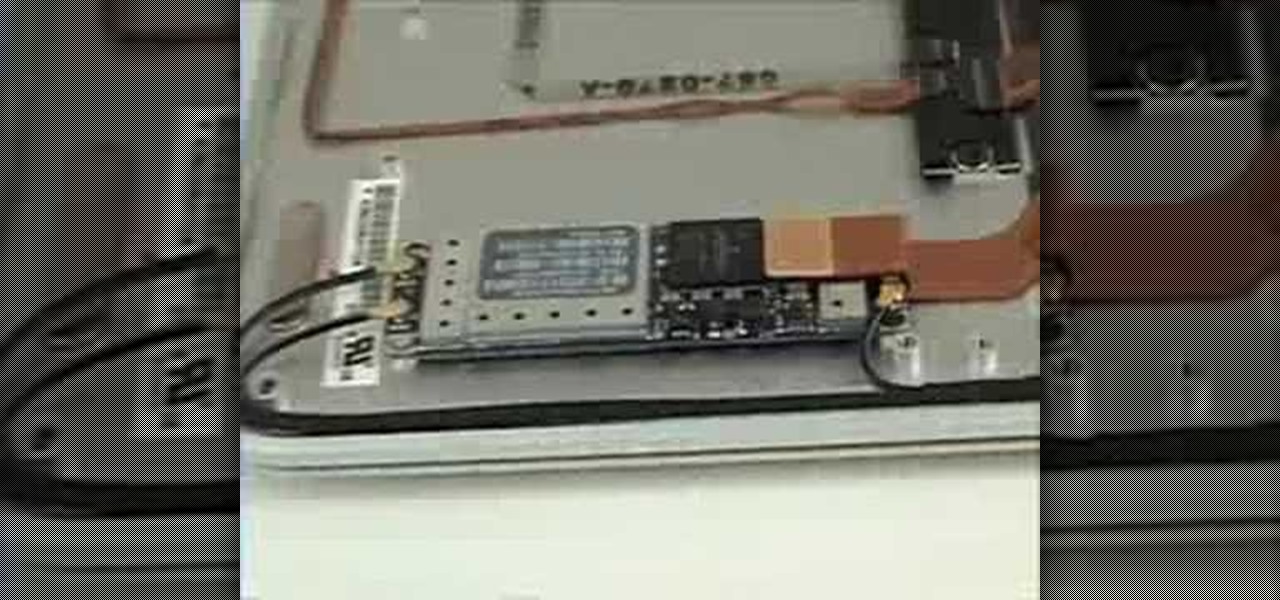
How To: Repair a MacBook Air - Airport module removal
Accidents will happen. This brief how-to will guide you through the process of removing the AirPort module from your MacBook Air both quickly and efficiently without damaging any of the components, the first necessary step of any successful repair. This tutorial will also be of use to those who wish to learn more about the guts of their MacBook Air laptops without actually disassembling their computers.
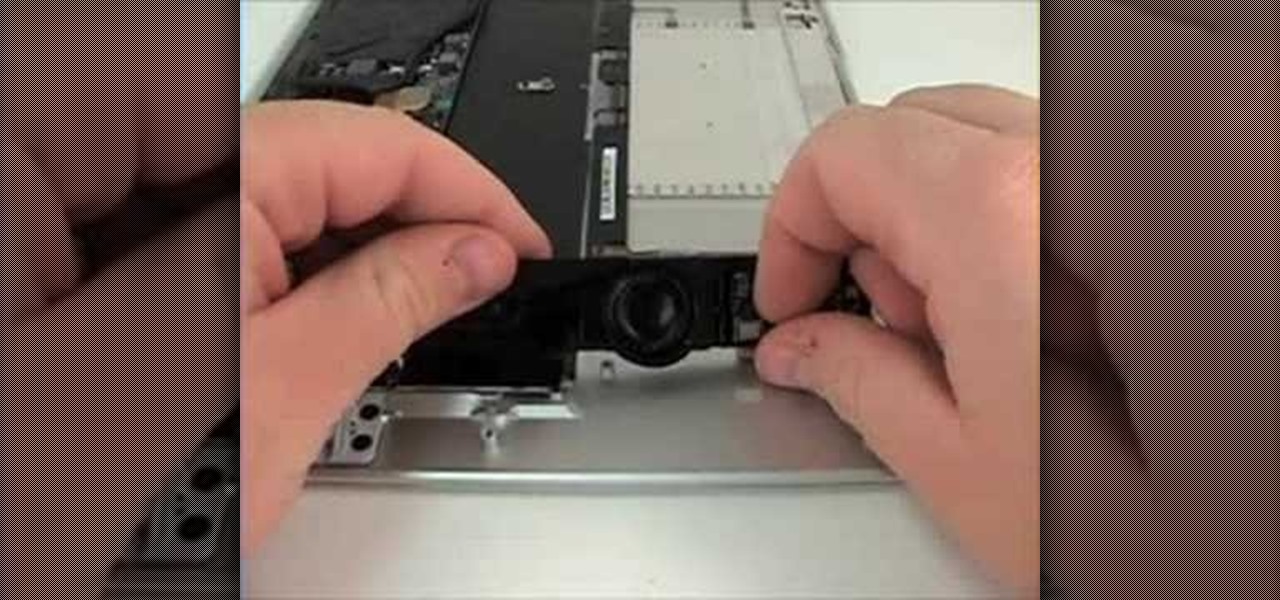
How To: Repair a MacBook Air - Speaker assembly removal
PowerBook Medic is the ultimate resource for Mac computers and electronics repair. They have helpful tutorials on most Apple products including the MacBook, MacBook Pro, PowerBook, iBook, iPhone, iPod, and more, covering topics from disassemblies, to RAM upgrades, to replacement hard drives.


